I’ve been asked a lot of questions about taking good photos yourself, especially during this quarantine. Families are stuck at home and can’t have professional photos taken of their family. This is a great time to learn how to take better photos and be able to capture special moments yourself. These tips below are ways to get professional looking photos at home, with your phone or your DSLR camera.
Find good lighting in your house
You’ll want to use natural light as much as possible instead of the flash on your camera or camera phone. Day light will give you the most natural looking photos.
Take notice of the sunlight in each room and jot down what times of the day certain rooms of your house are brightest. You don’t want direct light streaming in causing hard shadows or lines of light. You want soft, diffused light that’s fairly even. Sometimes even opening blinds or closing them can change the light and make it better. Try that too! I take photos in our living room, Fischer’s room and our office and know what time of day is best for each.
When taking photos outdoors, you always want to place your subject with their back to the sun. This keeps their face evenly lit, keeps them from squinting, and gives you nice light behind them. Indoors, you want to face your subject TOWARDS the light, so towards the window. This will give even light on their face and body. If you’re using a DSLR to take photos, you can turn your subject in any direction, but just know you’ll have to lower your shutter speed and/or bump up your ISO. If you’re using a phone, I’d suggest always using window light to light your subject since you don’t have control over your settings like you do on a DSLR.
Below are examples of your subject facing the window light (first photo) vs. your subjects back to the window light (second photo). You can see the first image has more contrast, her skin looks better, and the colors look more even. In the second photo of her doing laundry, the image looks more flat (less contrast) and I had to bump my ISO up to make up for the lack of light on their faces. Both are great photos, but you can see that lighting makes all the difference!
Find good backdrops. This could mean good walls, nooks of your house that are cute with decor, or making a backdrop yourself.
If I’m taking photos of Fischer to showcase an item, clothes or a monthly photo, I usually set him against a while wall to keep it clean looking.
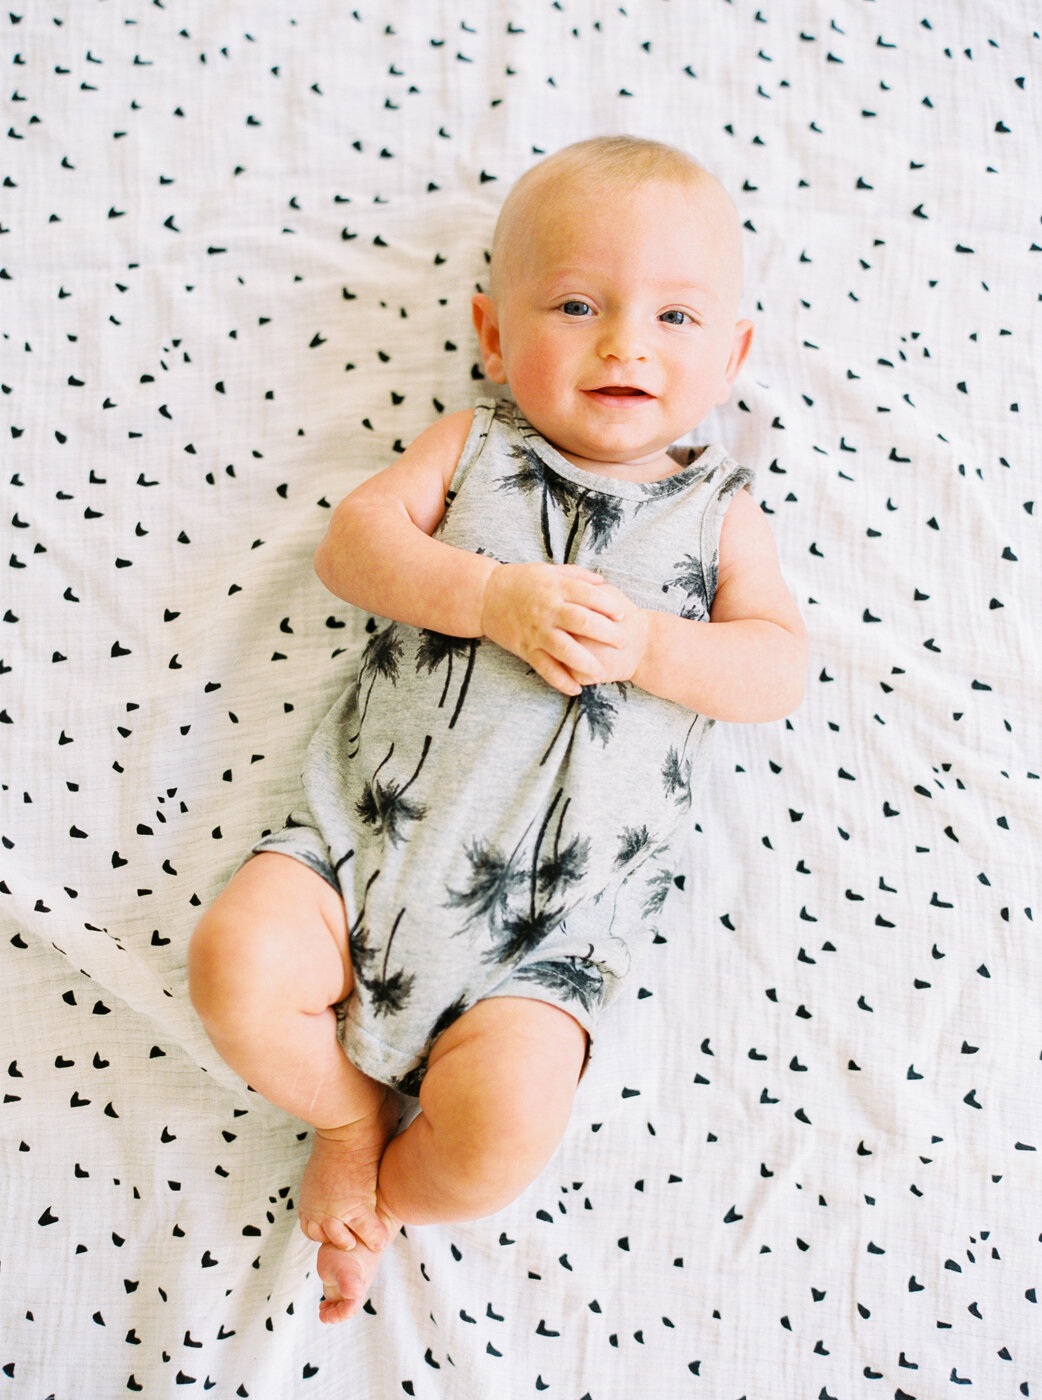
When he was younger, I’d use cute patterned or simple blankets to lay him on. I would dress him In outfits that complemented the blanket so his clothes didn’t compete with the backdrop.
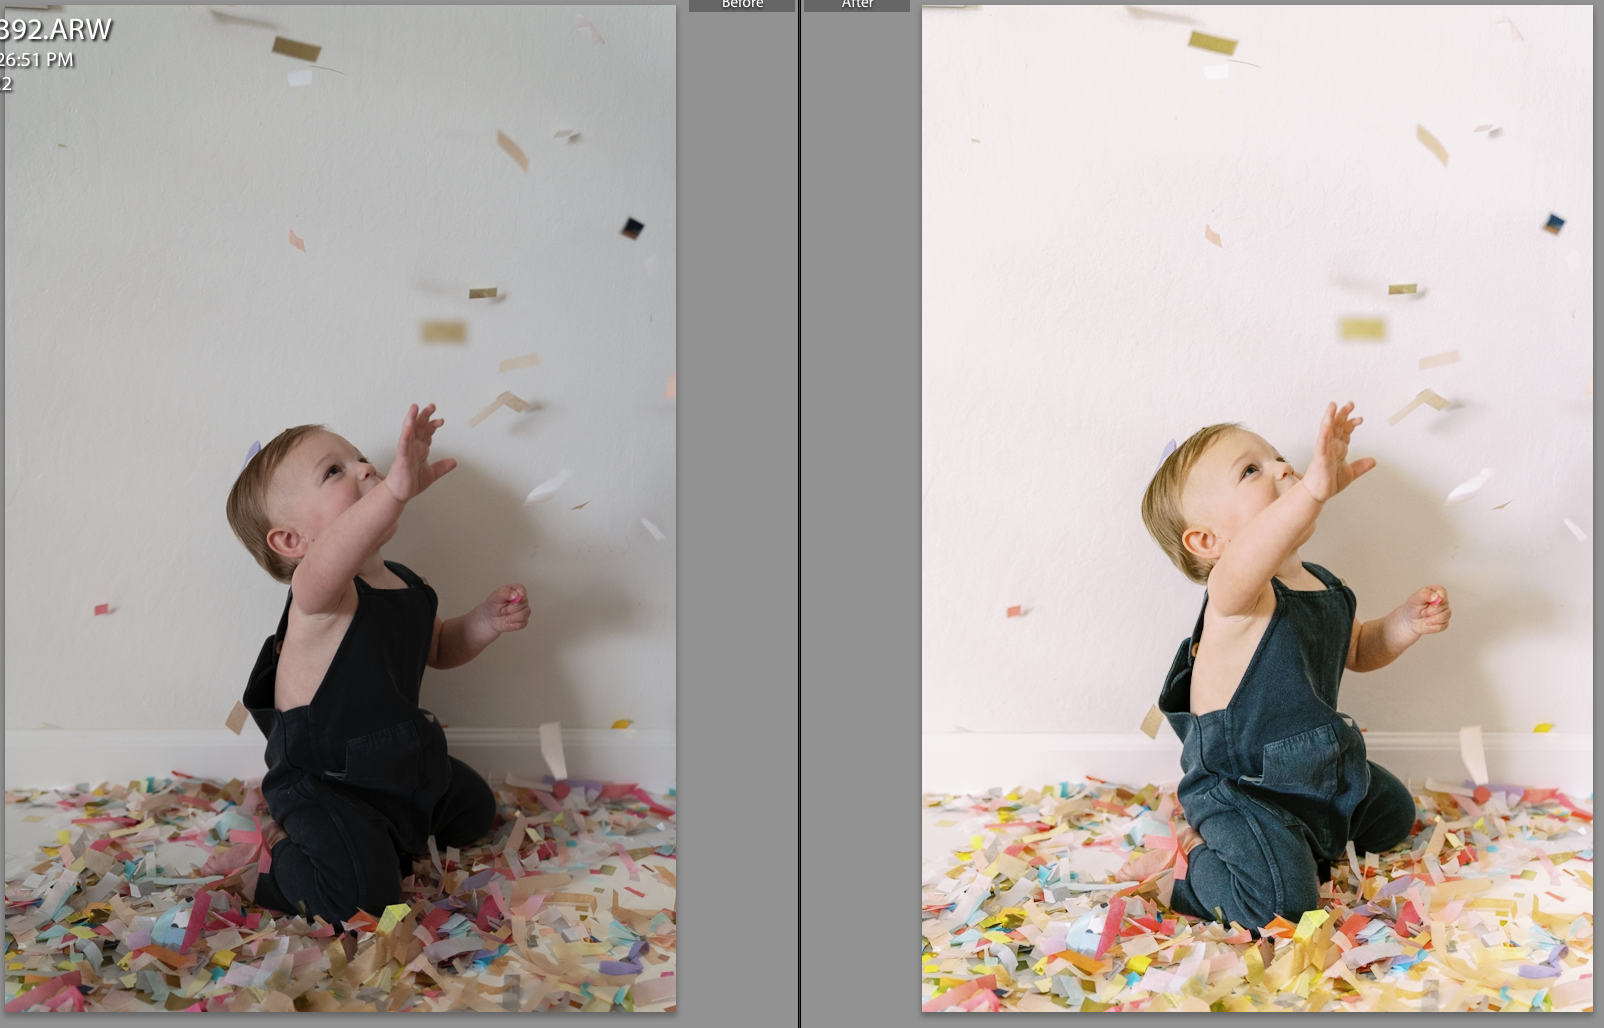
For his confetti birthday photos, I used white poster board on the floor so it was all white and the focus was just on him and the confetti. A super easy and cheap way to make a DIY backdrop.
You can build or make your own fun backdrops out of paper, party decor, wood, paint and so much more! If you have a certain vision and you’re crafty, this is a fun option. Just make sure it’s big enough so that when you’re taking photos in front of it, you can still stand back and get the backdrop and not whatever is behind it.
Clear out items behind the subject you are photographing. Clutter will distract from the photo. I try to keep often photographed places clear of junk. Our couch, book cabinet, and the counter under the stairs tend to be in the background a lot, so I try to keep those cleaned up as much as possible.
Below are examples of backdrops. The first photo is Fischer sitting on white poster board against a white wall in our well lit living room (window light coming in from the left side of this image). Our floors are wood, so I wanted a clean and bright space for these confetti photos. The second two photos are from when he was younger and couldn’t sit up. I used cute swaddle blankets (you want to make sure the blanket is large enough to take photos on) and put him in cute outfits. We took both of those photos in our office near the sliding door, so we had plenty of natural light. The diffused window light was coming in from the top right in these two photos.
If you have an actual DSLR camera, use a 35mm or 50mm lens
If your camera has a full frame sensor, you’ll want to use a 50mm.
If your camera has a cropped sensor, use a 35mm. A cropped sensor camera will make a 35mm feel like a 50mm.
These lenses will give you the best depth of field (background blur) and will give you sharper images then any kit lens or zoom lens.
A good lens will make your photos SO much better. The lens is more important then the camera. Investing in a good lens is worth the cost!
Editing. Buy presets!
Lightroom is what I use to edit my photos on my computer. I also have the app on my phone. Presets I’ve used for Lightroom are Mastin, VSCO, C1ick, and Noble.
I usually edit photos in the VSCO app on my phone.
You can get the Photoshop app on your phone or buy Photoshop for your computer. I use the clone tool to take out electrical outlets, smudges on the wall, etc. to make my photo cleaner.
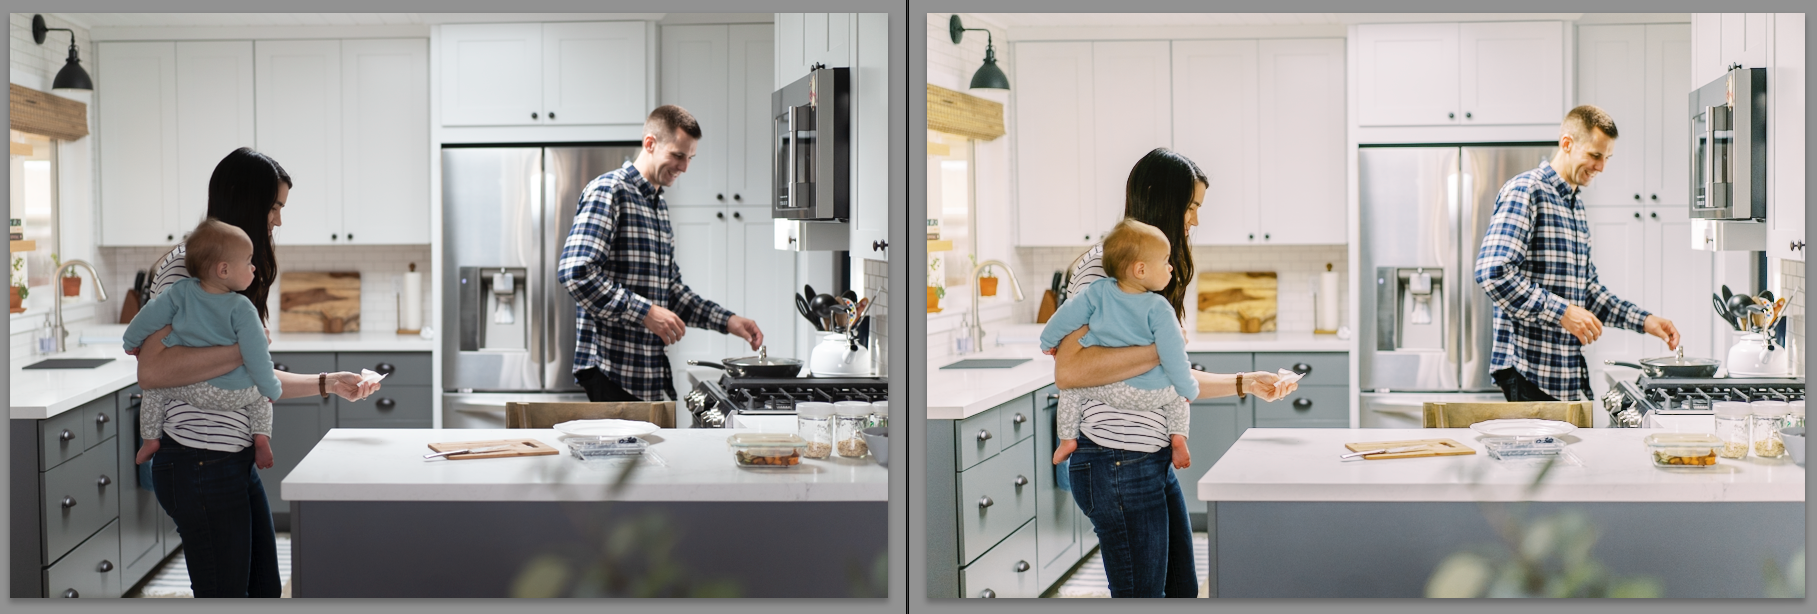
When editing photos my main goal is to make skin tones look correct. I brighten images a bit (exposure), warm them up just a little (temperature), pull up the shadows a little so the blacks aren’t super harsh, add a bit of contrast, and apply my preset.
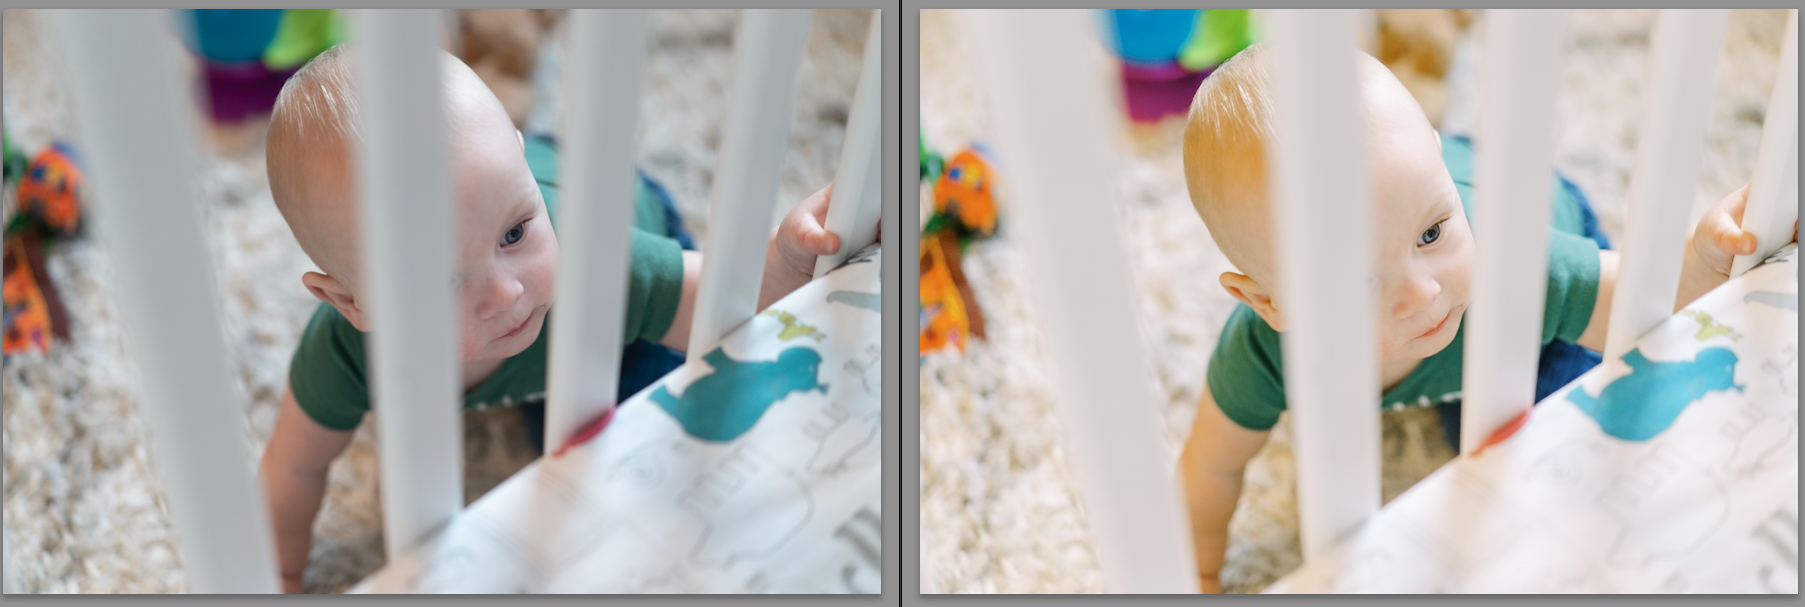
Below are side by side comparison images. The left image is straight out of the camera. The right image is the edited version with the C1ick presets.
General camera settings:
You’ll want to take pictures a little darker then you think. If you take the photo and it’s too bright, then you’ll have blown out the highlights and you won’t be able to recover them very well. Skintones also look better when you shoot them darker and brighten up when you edit.
With a DSLR, you’ll generally want to stay above 1/250 (or around there). Below that, and the image will start to get blurry because the shutter speed isn’t fast enough. Having a good lens that can go to f/1.6 or f/1.8 will help in low light situations so that you can keep your shutter speed above 1/250th.
To get that background blur that you see in professional photos, you’ll need a lens that goes to f/2.0 but ideally to f/1.8 or f.1.6 Another thing to note, is your lens is sharpest 2 stops up from it’s lowest aperture. For example, if your lens goes to f/1.8, your lens will take the sharpest images starting at f/2.2.
Taking pictures with your phone:
If you tap the screen on an iPhone, you’ll see a little box appear with a sun. If you slide it up or down the subject will get brighter or darker. Sometimes our phones don’t get it right, and need a little help with exposure.
Images will look dark on your phone, but once you put them into an editing app, you can brighten them up. Take a few different versions with different exposures and play around with editing them.
Clean your camera!! We touch our phones so much that they get dirty, and giving your camera wipe down before using it makes a huge difference!
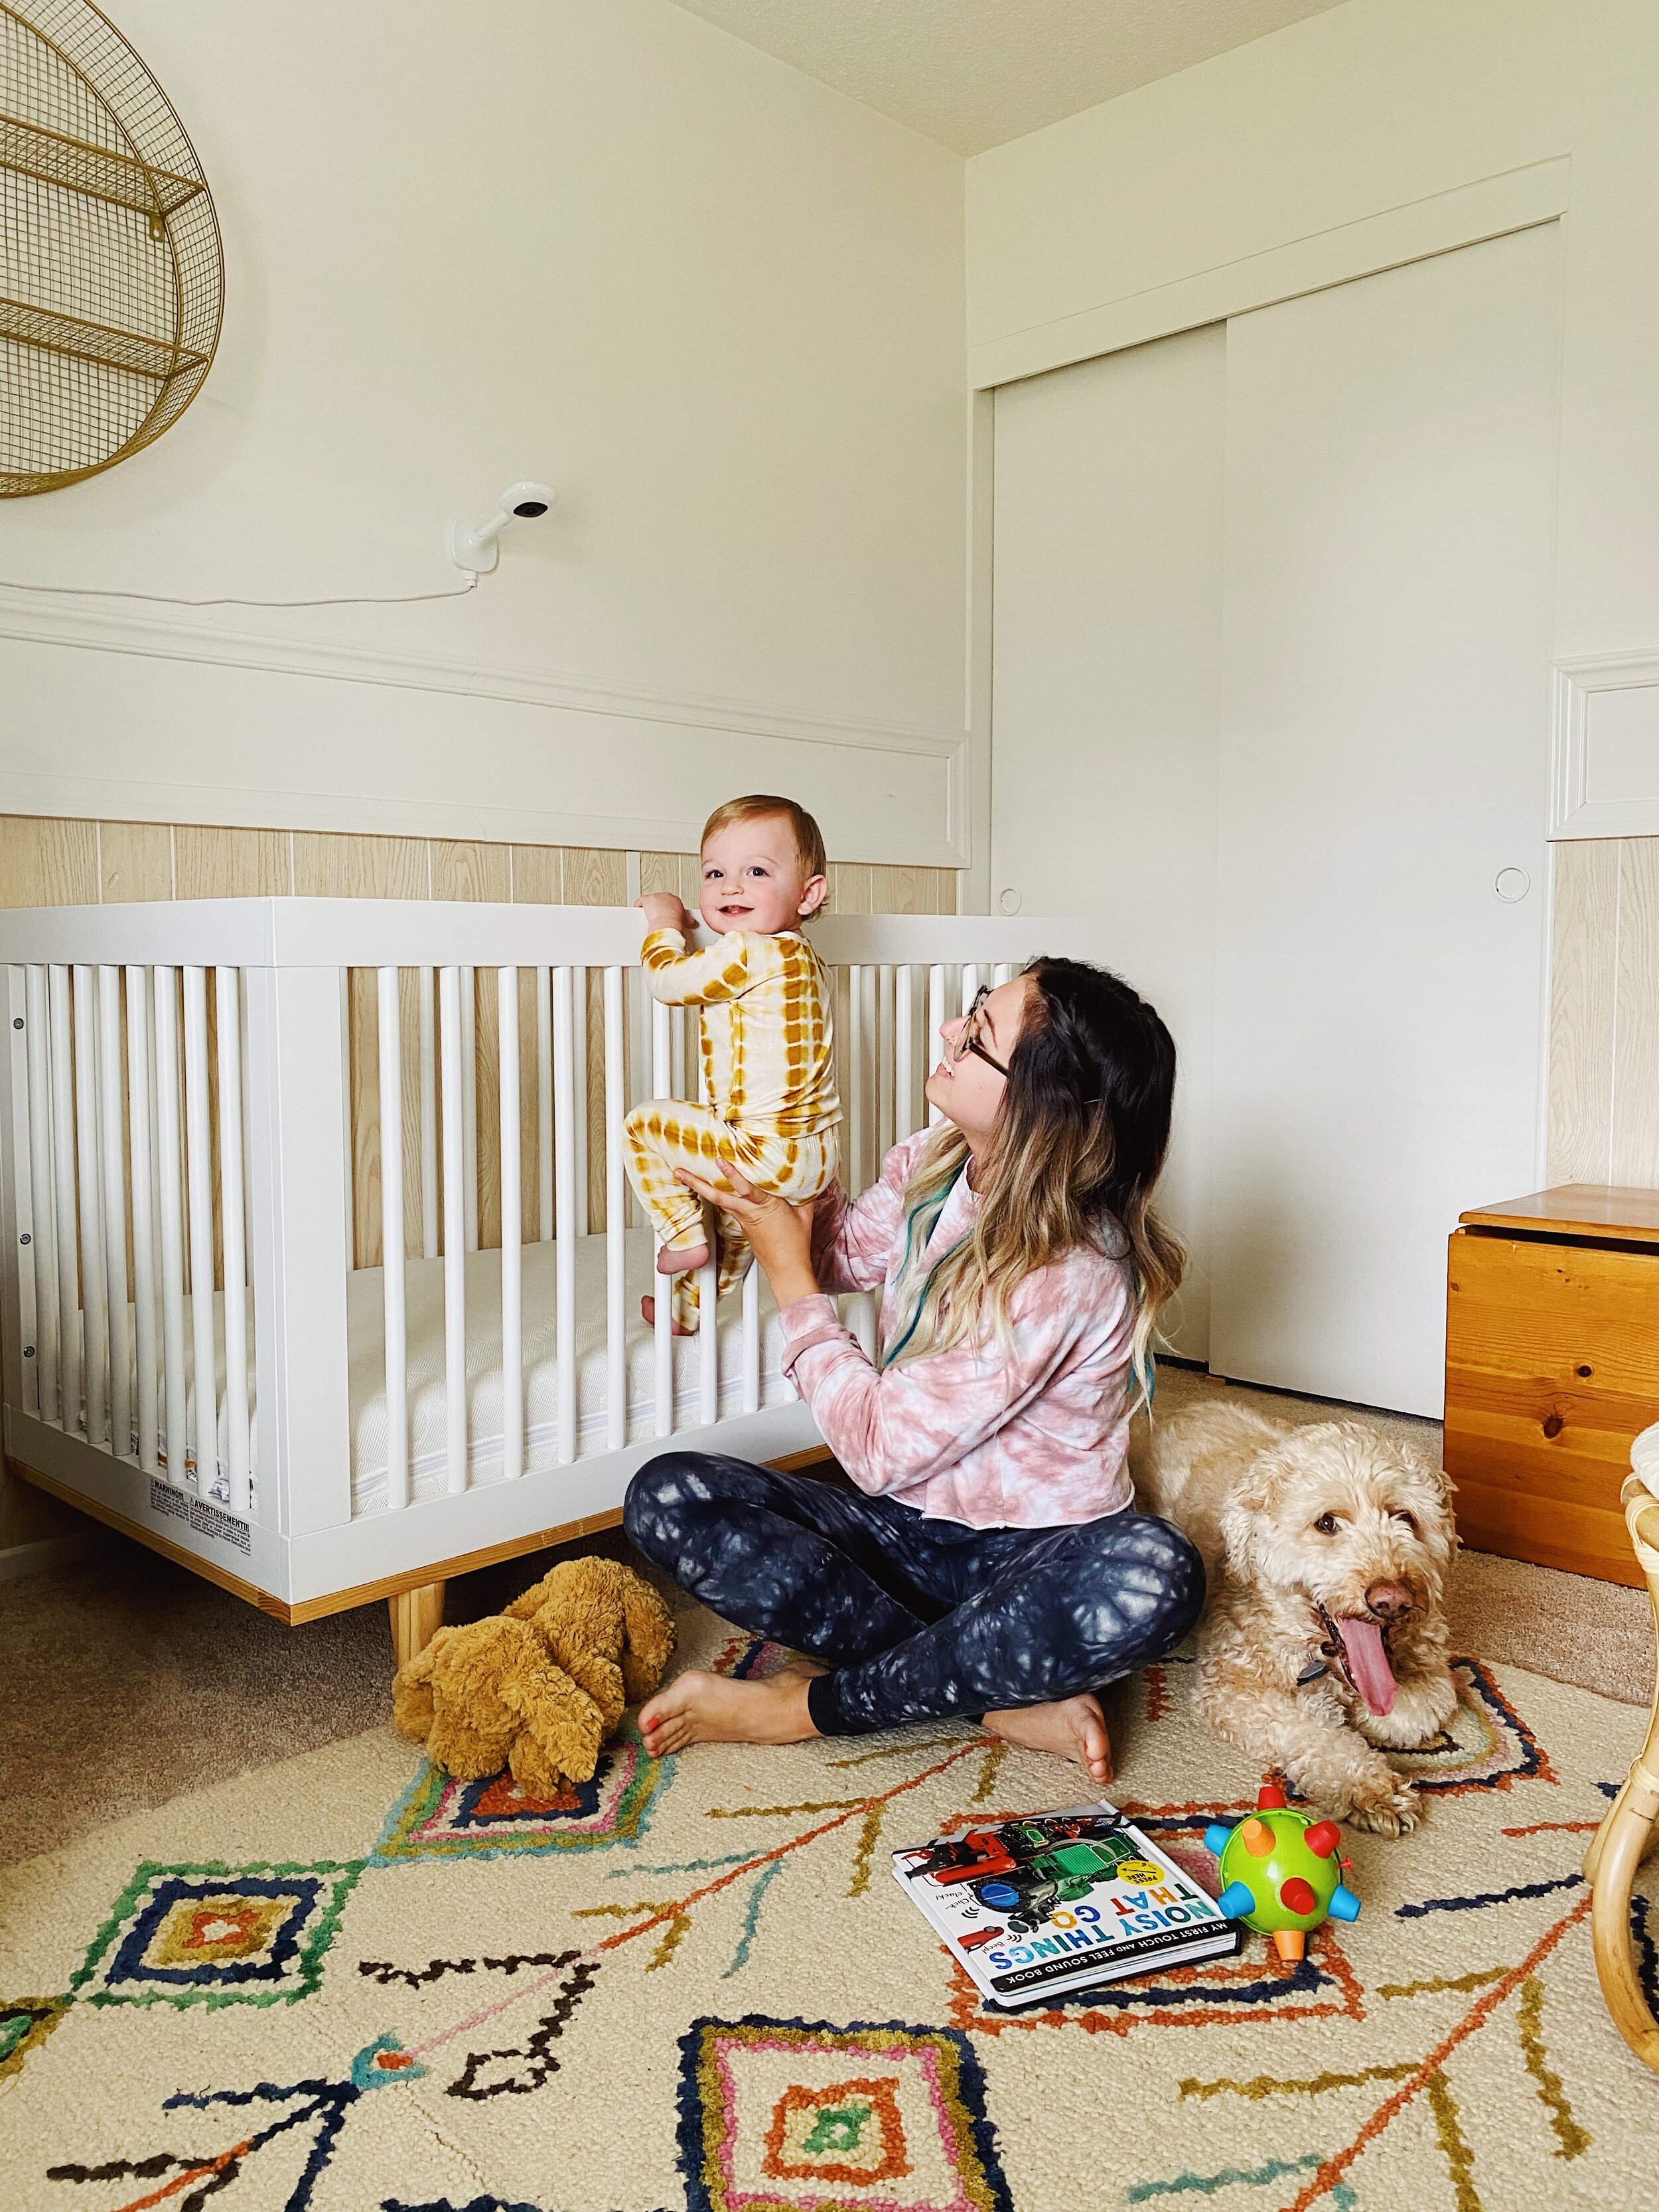
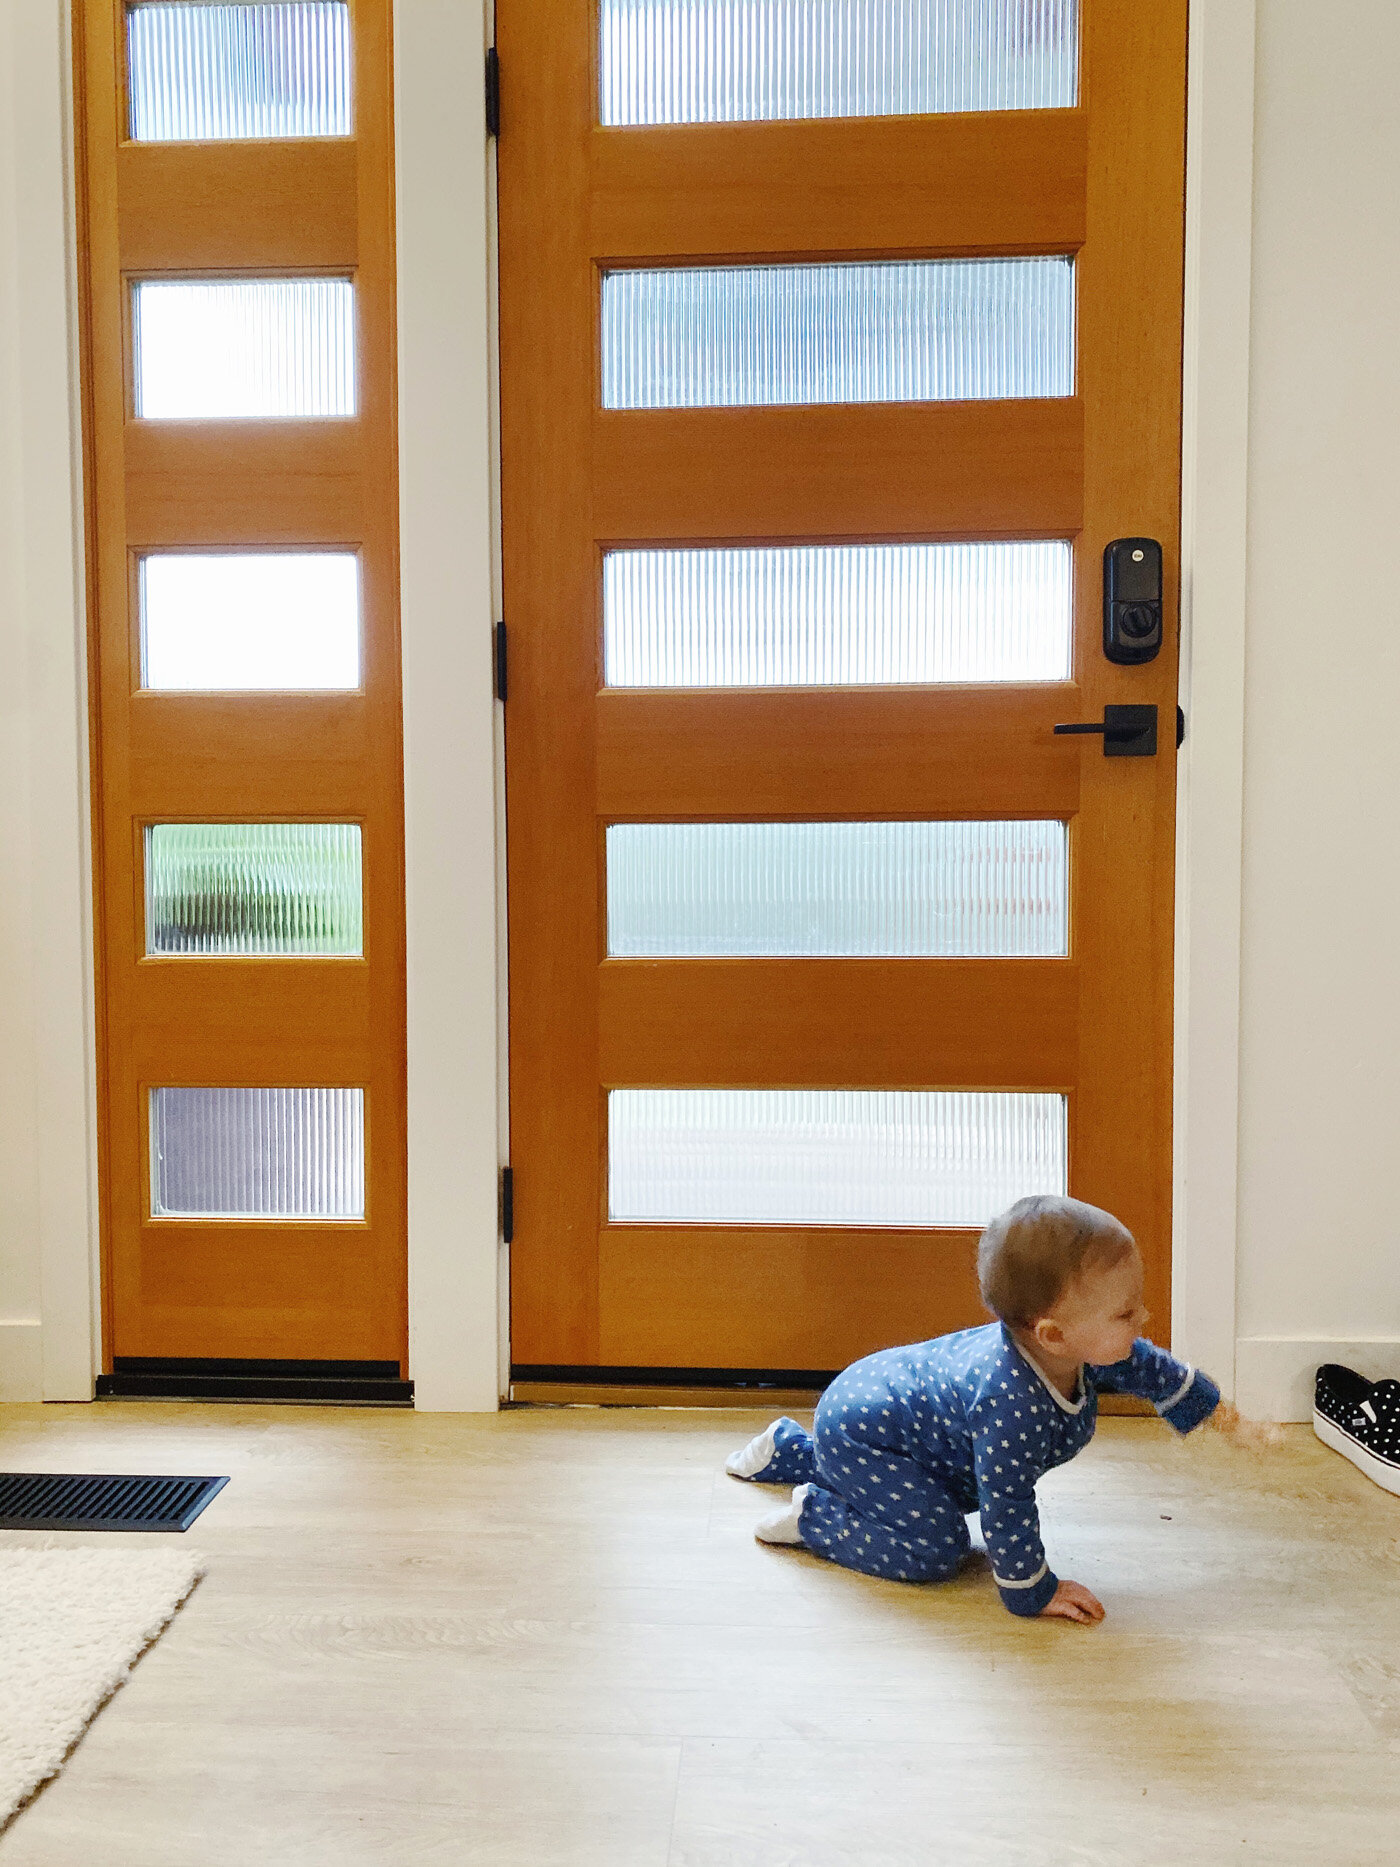
Below shows examples of 3 photos taken on my iPhone 11 using window light on their faces, and clean, uncluttered backdrops. These images were edited in the VSCO app.
Composition of a photograph:
If the person is standing in the photo, you will want the bottom of their feet to be at the bottom of the photo. If you want to take a closer up photo, you’ll want to crop it above their knees. Cutting off between the foot and the knee will look very odd, and cutting off arms in photos can also look weird.
Negative space is good. You generally don’t want the subject to take up the entire photo. You want space around the subject, either on the sides or the top.
Having the subject off center is another way to make the composition more interesting.
Notice what is directly behind the subject. Things sticking out from behind their heads or bodies are distracting and detract from the photo. A simple solution if you can’t easily move what’s behind them, is just to move yourself to the left or right of where you are standing to change the perspective of the photo.
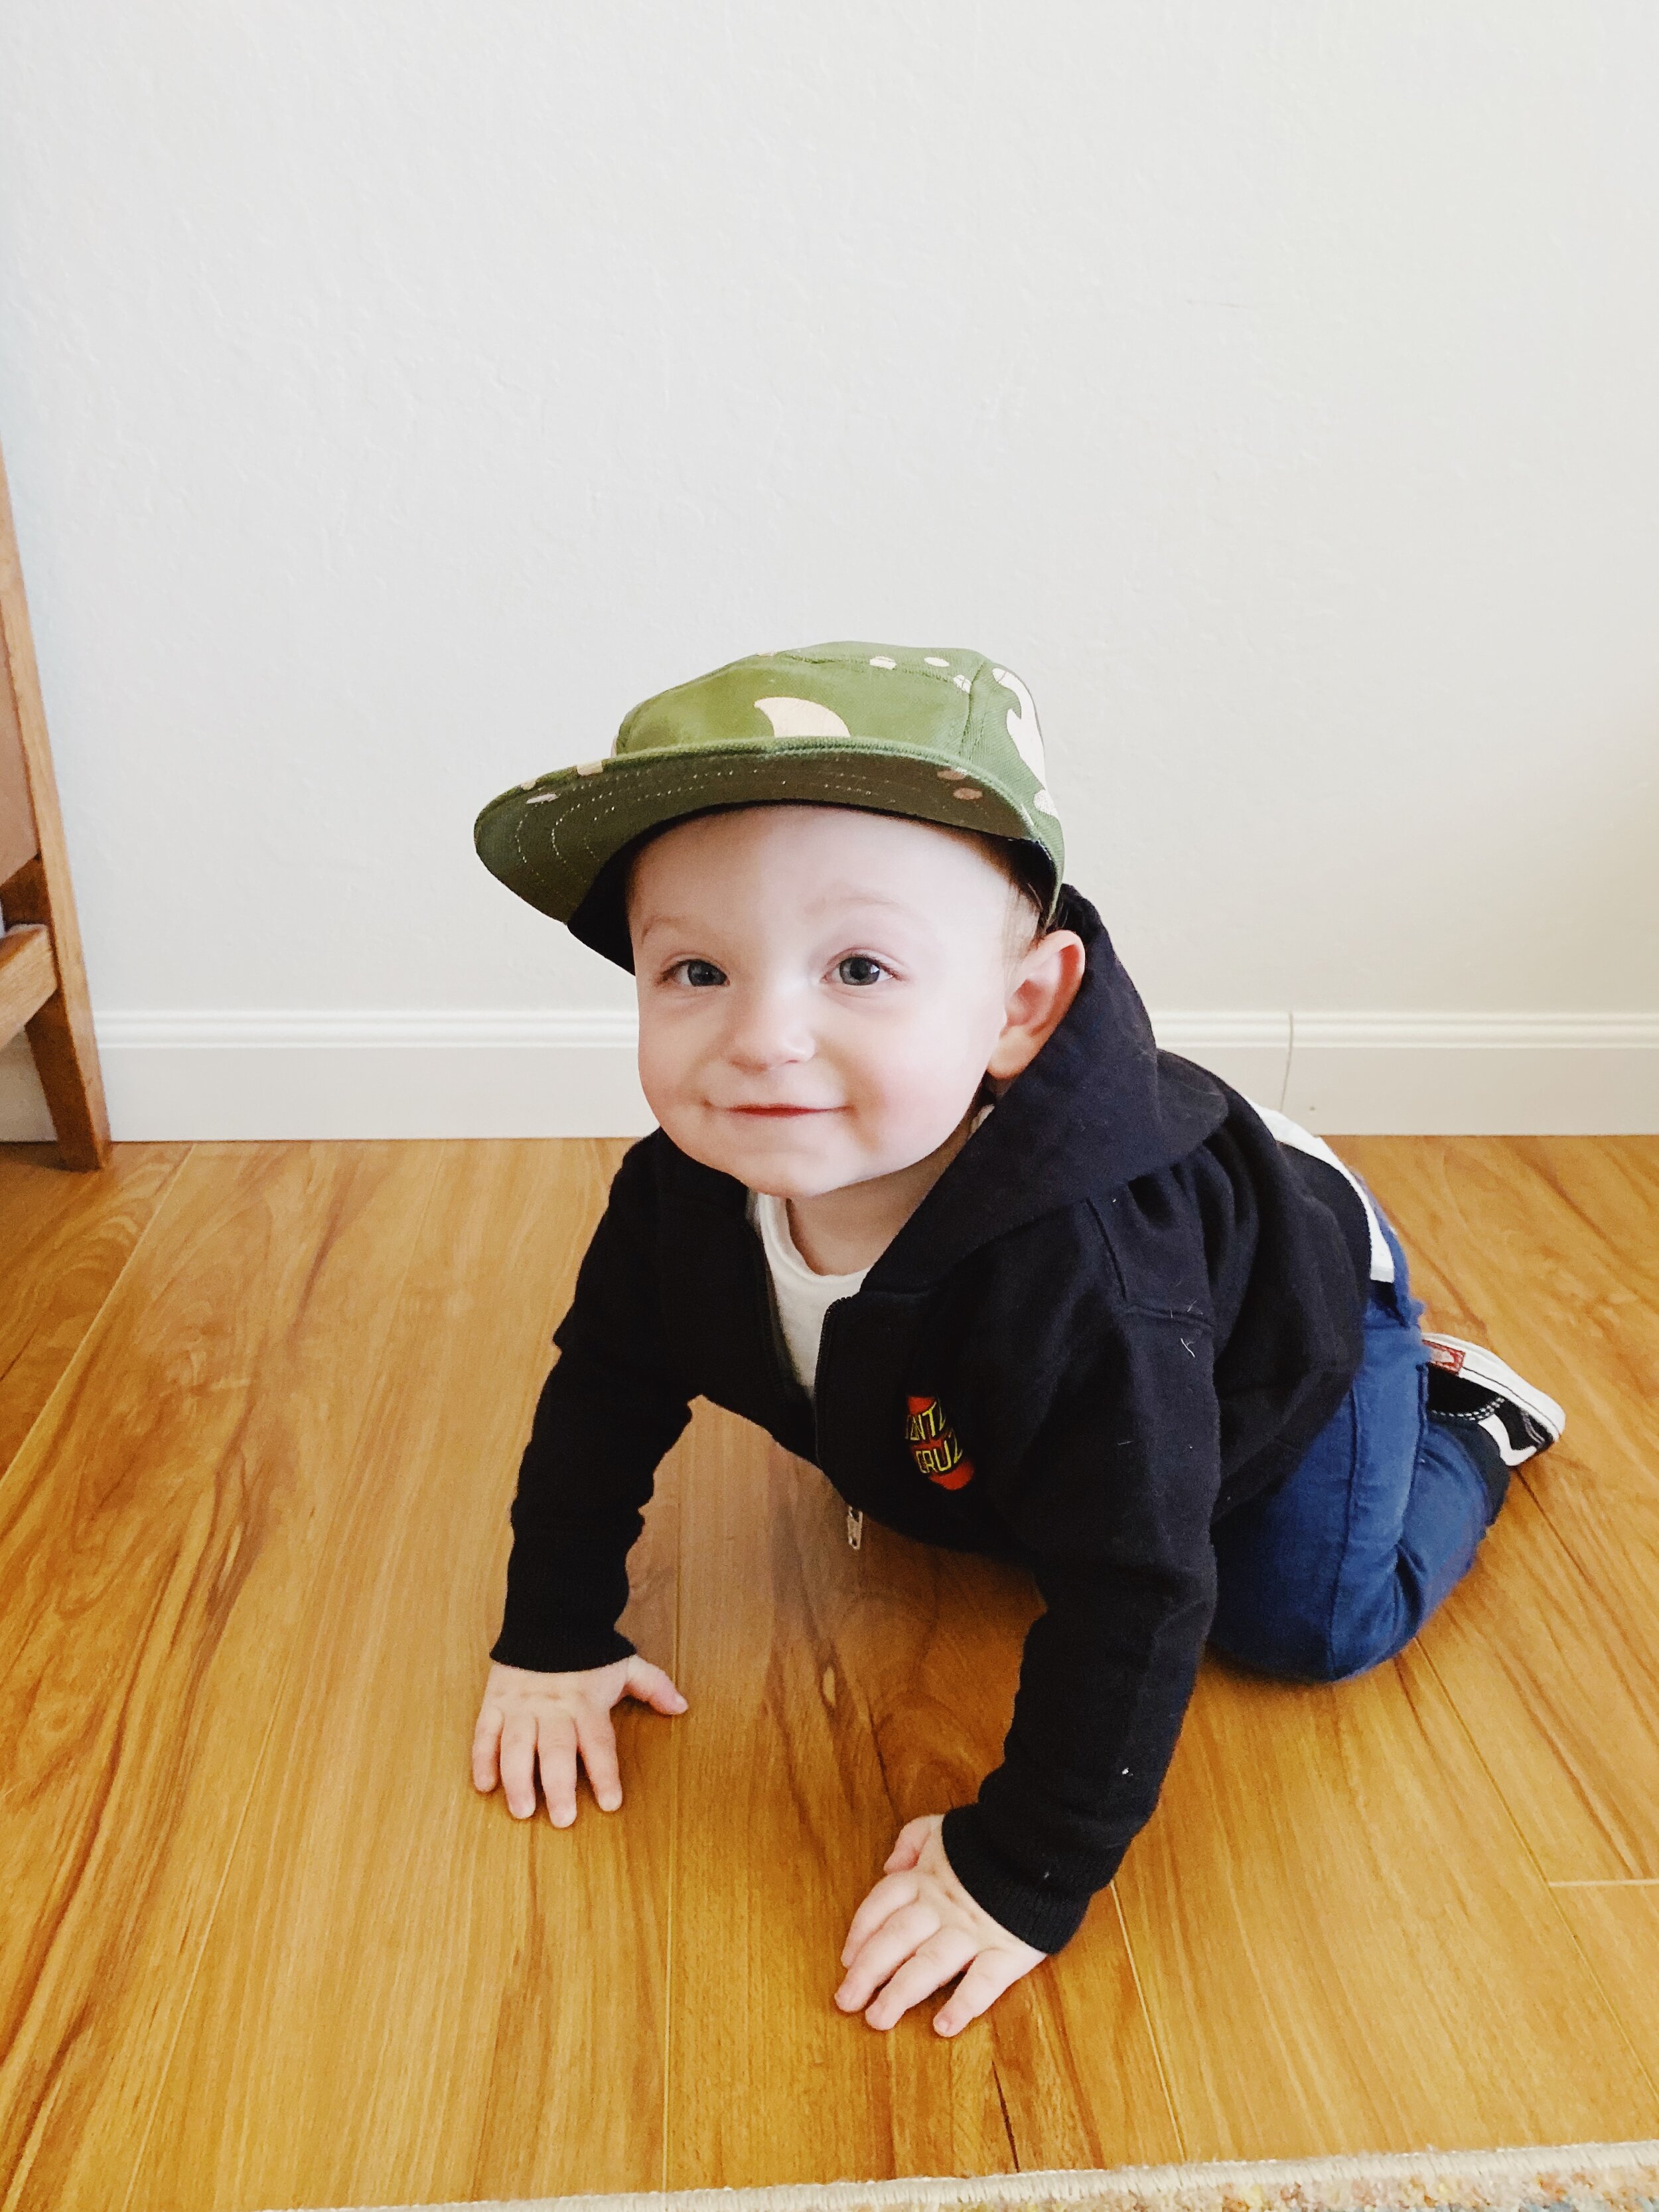
Below you can see the composition of each photo allows incorporates the points above. They all have negative space. You also see that the subjects are not centered and feet are at the bottom of the photo. All of these things make for a more interesting and well composed photo.
Head over to my Amazon storefront to find camera gear I recommend!
More photo tip blog posts coming soon about editing in Lightroom, Photoshop, and on your phone, as well as posts about taking photos outdoors and of your newborn baby!


